
I am writing a series for Tiny House Magazine on Simple Off-Grid Solutions for Tiny Spaces. In part 2 of 5 we looked at our small portable DIY solar system. If you are not subscribed to the Tiny House digital magazine – you should! It’s chock full of how-to’s, reviews and inspiration all around Tiny Living and it’s only $5 per month. Subscribe here!
As promised to the Tiny House Magazine readers here is a video summary of our system, a detailed parts list and assembly instructions.
VIDEO INTRO
PARTS LIST
The beauty of this small system is that it can be scaled to meet different needs & budgets substituting different parts. I recently heard a quote that, “good design is modular”. That’s the approach we are taking with our solar setup and these different configurations. Portability + expandability. We want our setup to be somewhat portable so if we decide to park our trailer in full shade we still want to be able to enjoy the benefits of solar power. And we want the option to expand our system in the future (add more solar panels + batteries).
All the parts needed can be purchased on Amazon and some components can thrifted. (Our tool box was purchased at a Thrift Store and we purchased some used wire at a Habitat for Humanity ReStore.) The parts listed are quality. You may be able to build a cheaper system substituting different charge controllers / panels but I believe you get what you pay for. I have used the SunSaver & Renogy brands and they have worked well for us and have a good reputation plus they are affordable!
Please note: the the following Amazon links are affiliate links. If you decide to purchase parts from the link I will earn a small commission at no extra cost to you. If you find this article useful please consider buying through the links!
SMALL: 25w + 18ah Battery $150
This little budget system is lightweight and affordable. It has enough juice to charge your phone 5x’s and can be fully-recharged in 7-8hrs of good sun. This system can be expanded up to 75watts of solar input.
BOX: Plano Gun Case $23
SOLAR PANEL: 10W .5A $40
SOLAR PANEL: 30W 1.7A $70
CHARGE CONTROLLER: SunSaver 12V 4.5A $32
BATTERY: 18ah 12v Sealed $38
MISC. PARTS: Fuse, Wire, Switches & Optional Inverter (see below)
TOTAL: $145 + Misc Parts
-

- Portable Case
-

- Small 10W Solar Panel
-

- Small 4a Charge Controller
-

- 18ah Sealed Battery
NOTES: Select the solar panel that best fits your needs. The 10W panel is smaller (14 x 11 x 1 inches ; 3.5lbs) but it only puts out 1/2 an amp. So to top off your battery from 50% it would take 18hrs of good sun. The 30W panel is bigger (13.5 X 23.8 X 1.0 In ; 6.2lbs) but can charge the battery from 50% in about 5hrs.
MEDIUM: 50w + 36ah Battery $250
This medium system is still small and compact but has 2x’s the battery capacity as the small system. It has enough juice to charge a laptop and can be recharged with a 50w panel in about 8hrs of good sun. This system can be expanded up to a 100watt solar panel.
BOX: Medium Tool Box
SOLAR PANEL: 50W 2.8A $87
CHARGE CONTROLLER: SunSaver 12V 6A $48
BATTERY: 35ah 12v Sealed Battery $65
MISC. PARTS: Fuse, Wire, Switches & Optional Inverter (see below)
TOTAL $212 + misc parts
-

- Medium Toolbox
-

- 50w Solar Panel
-

- 6A Charge Controller
-

- 35ah Sealed Battery
NOTES: The same toolbox can be used for this system and the large system and it should fit (2) 35ah batteries. If your budget is limited you could start with this system then add another battery in the future and another 50W solar panel.
LARGE: 100w + 70ah Battery $400
This large system is what we have for our backup unit for our Airstream. It’s fairly heavy (50lbs) but still compact enough to fit in a medium size tool box and has enough juice to power our trailer for a day and can be fully charged with a 100w panel in about 7hrs of good sun. This system can be expanded up to 150watts of solar input.
BOX: Medium Tool Box
SOLAR PANEL: 100W 5.3A $150
CHARGE CONTROLLER: SunSaver 12V 10A $60
BATTERY: (2) 35ah 12v Sealed Battery $65ea = $130
MISC. PARTS: Fuse, Wire, Switches & Optional Inverter (see below)
TOTAL: $350 + Misc Parts
-
- Medium Toolbox
-
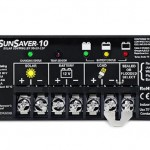
- 10a Charge Controller
-
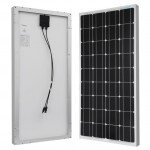
- 100 watt Solar Panel
-
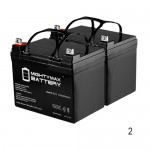
- (2) 35ah Batteries
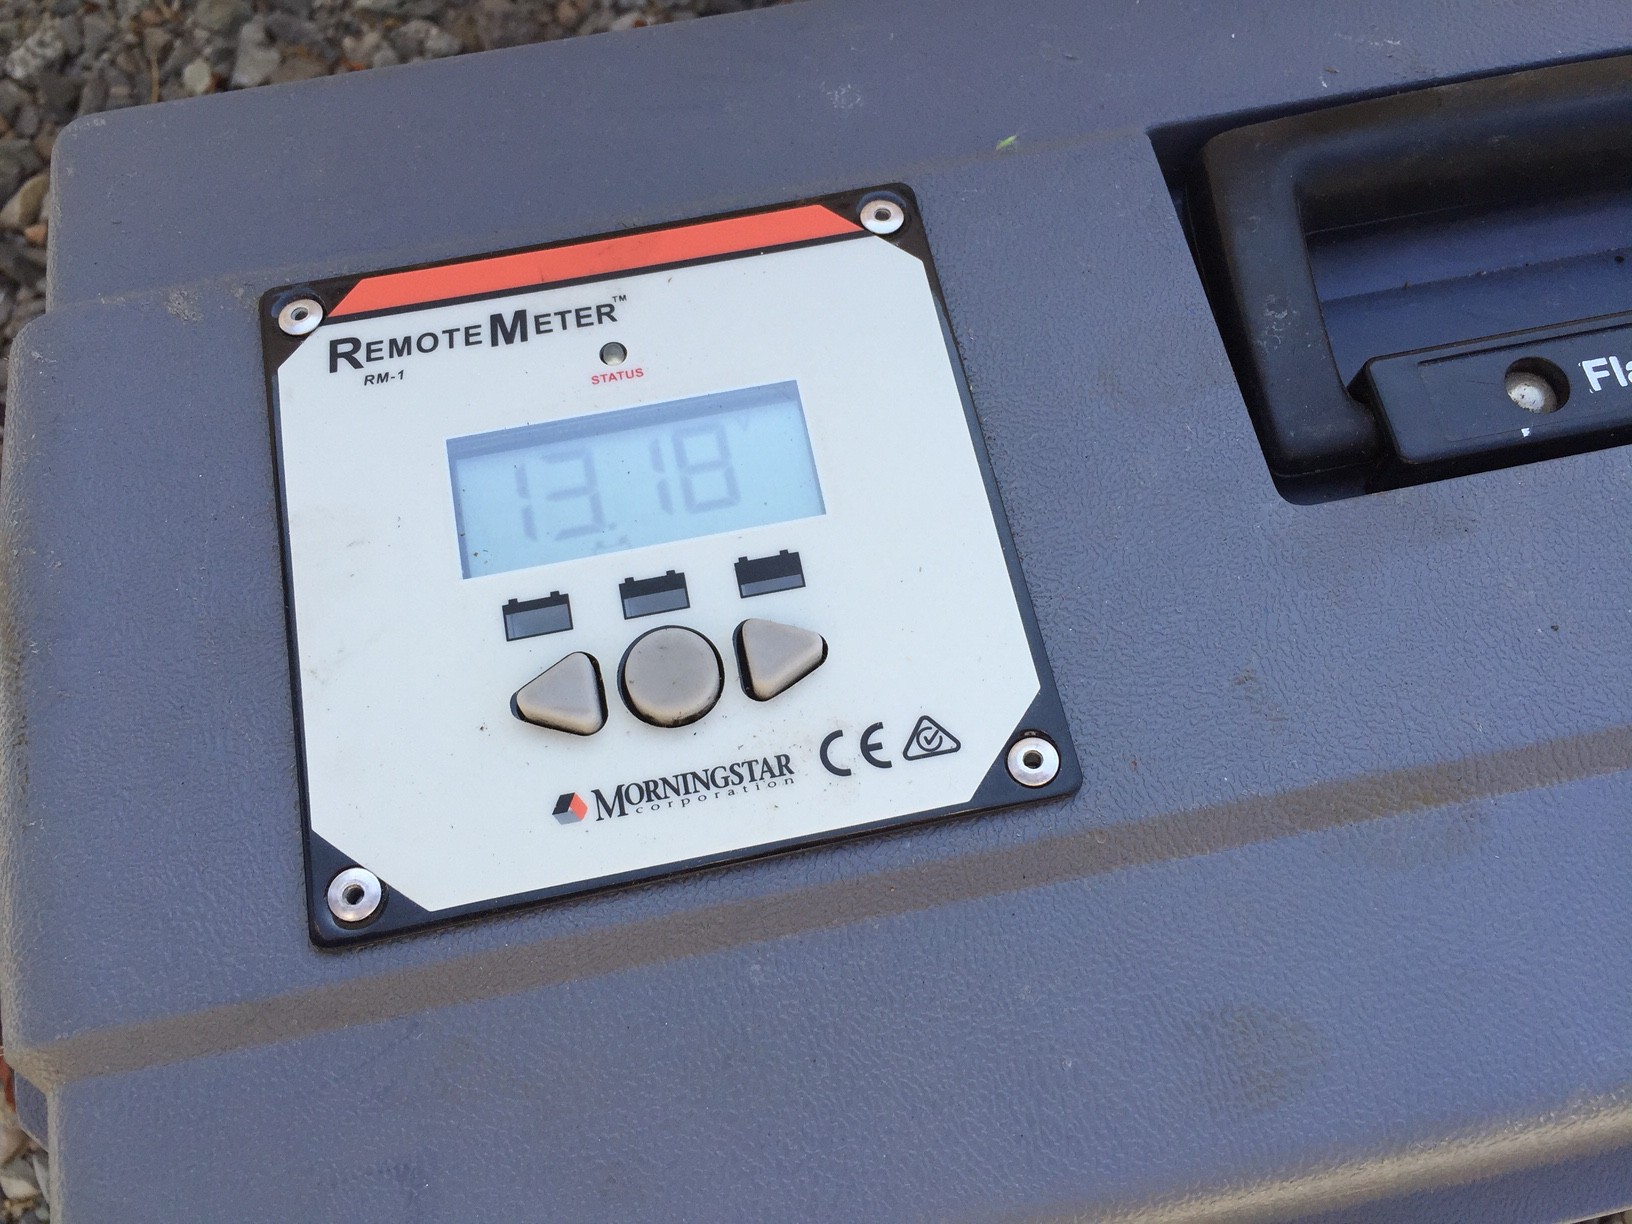
NOTES: This is the size system we use (plus an upgraded charge controller + monitor). We are very pleased with how it functions!
X-LARGE: 200w + 225ah Battery $
This X-Large system is what will be added to our Airstream as our primary power source. (When I say X-Large I mean XL in these series of systems. This size system is not large compared what you would need to power a house.) Though we will be installing it to be stationary in our trailer it could easily fit in some type of portable box. It uses (2) 6v Trojan Batteries wired in series for 12votls. It has enough juice to power our trailer for 3 days and can be fully recharged with (2) 100w panels in about 10hrs of good sun. This system can be expanded up to 400Watts of solar which would charge the batteries from 50% in 5-6hrs.
BOX: Some type of roller box or mount in dwelling.
SOLAR PANEL: (2) 100W $289 (http://amzn.to/1ONa4ns)
BATTERY: (2) Trojan T105 6v Battery $168ea = $336
CHARGE CONTROLLER: SunSaver Duo 12V 25A $156
MISC. PARTS: Fuse, Wire, Switches & Optional Inverter (see below)
TOTAL: $800 + Misc Parts
-

- Roller Toolbox
-

- 25a Charge Controller + Monitor
-
- 100 watt Solar Panel
-
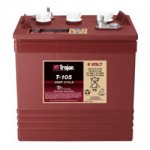
- (2) Trojan T105 6V Batteries
NOTES: The Trojans are excellent long life batteries well suited for off-grid use. The 6v batteries are wired in series to give you 12v. We considered buying cheapo 6v batteries from Costco at $89ea but after doing some shopping found the T105’s at a local Golf Cart shop for $100ea! We bought one new one plus they had a good used one we picked up for $50. Shop your local golf cart stores for Trojans!
MISC PARTS
TERMINAL MOUNT FUSE BLOCK KIT $25 (This fuses your positive line plus acts as a load bus for distributing power to your sockets and inverter. I’ll upgrading to this in the future)
LOAD TERMINAL $15
SWITCH $5 (If you want to install a master shut-off switch)
300Watt INVERTER (For Small Elecronic Devices) $80
1000W INVERTER (For larger Appliances Like a blender) $170
WATT METER (For Measuring how much power is added to your battery and how much you have used. Different than a simple volt meter) $55
WIRE
WIRING DIAGRAM

ASSEMBLY INSTRUCTIONS
STEP 1: Layout parts in box for best fit.
STEP 2: Cut holes in box for power sockets and optional meter. (These components could also be mounted inside the box.
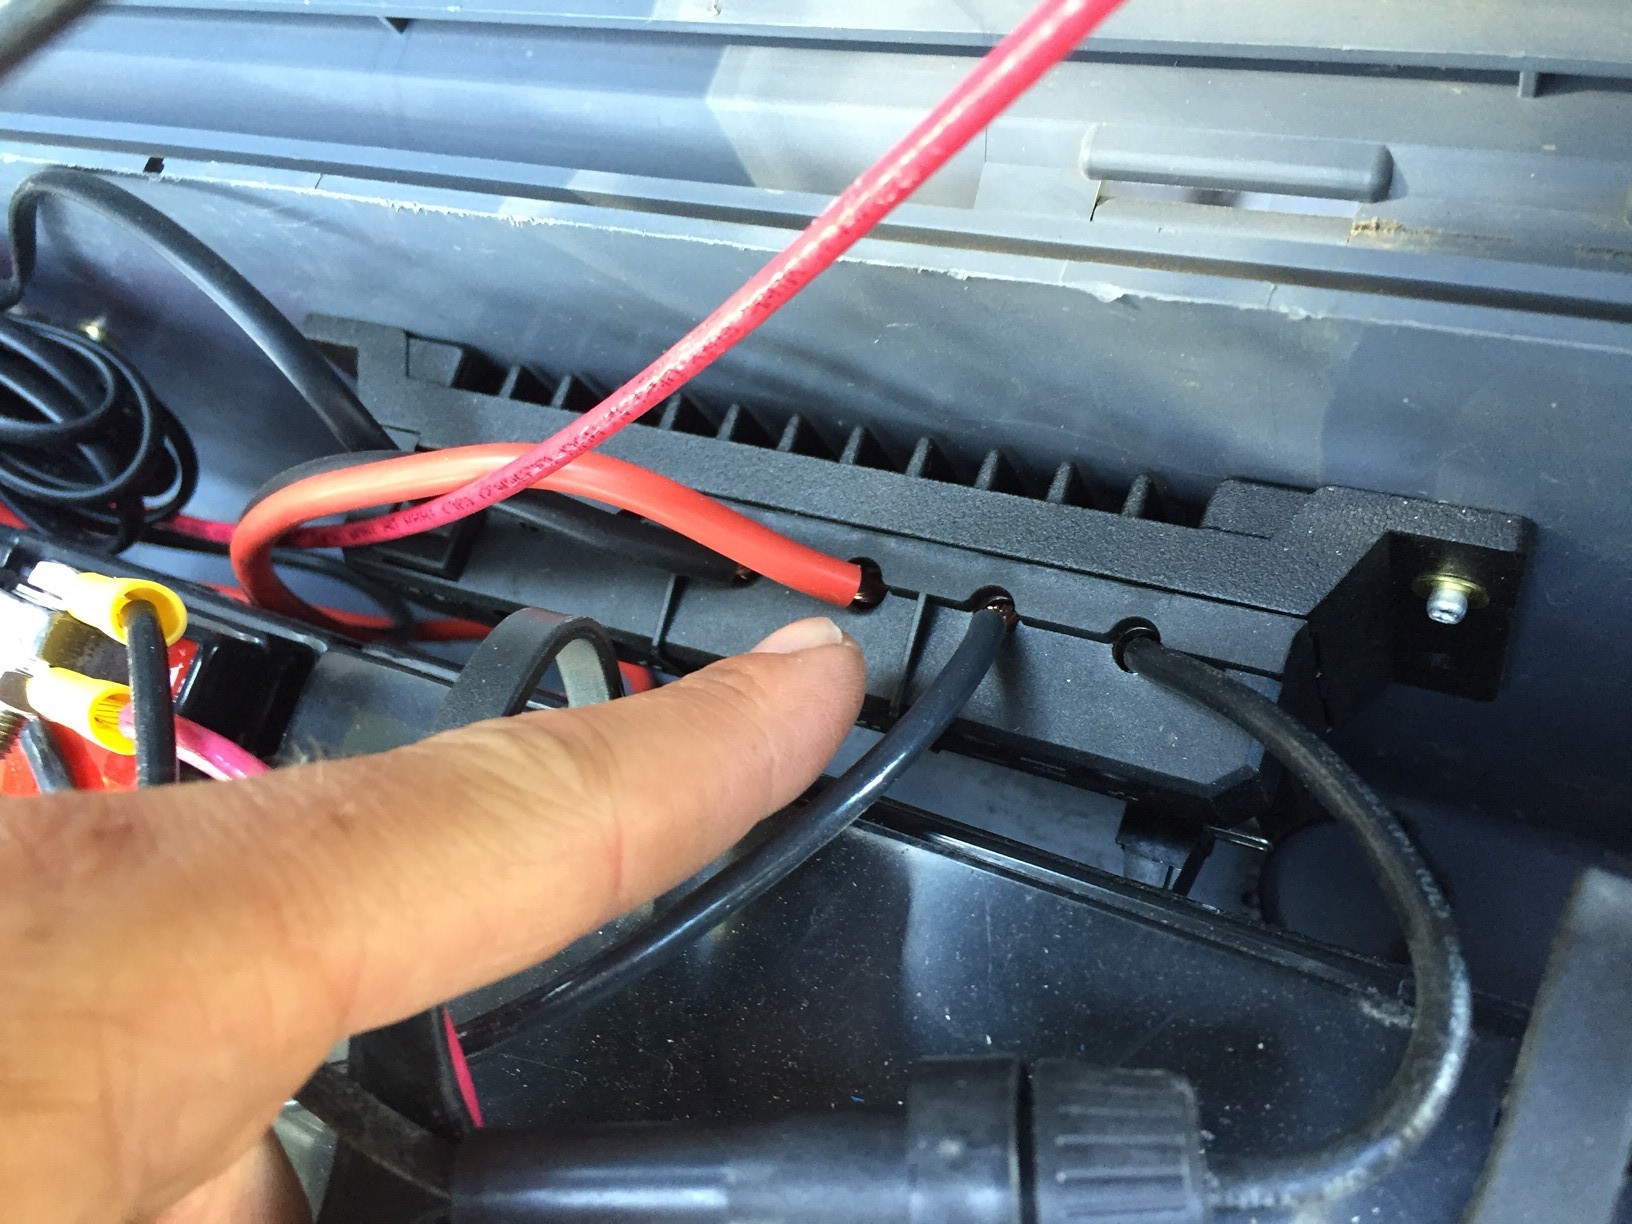
STEP 3: Mount & Wire Charge controller to the batteries + the solar panels.
STEP 4: Wire fuse between the positive wire leading to the load bus.
STEP 5: Wire power socket to the load bus. (If you are going to hard-wire the inverter you would wire it to the load bus as well)
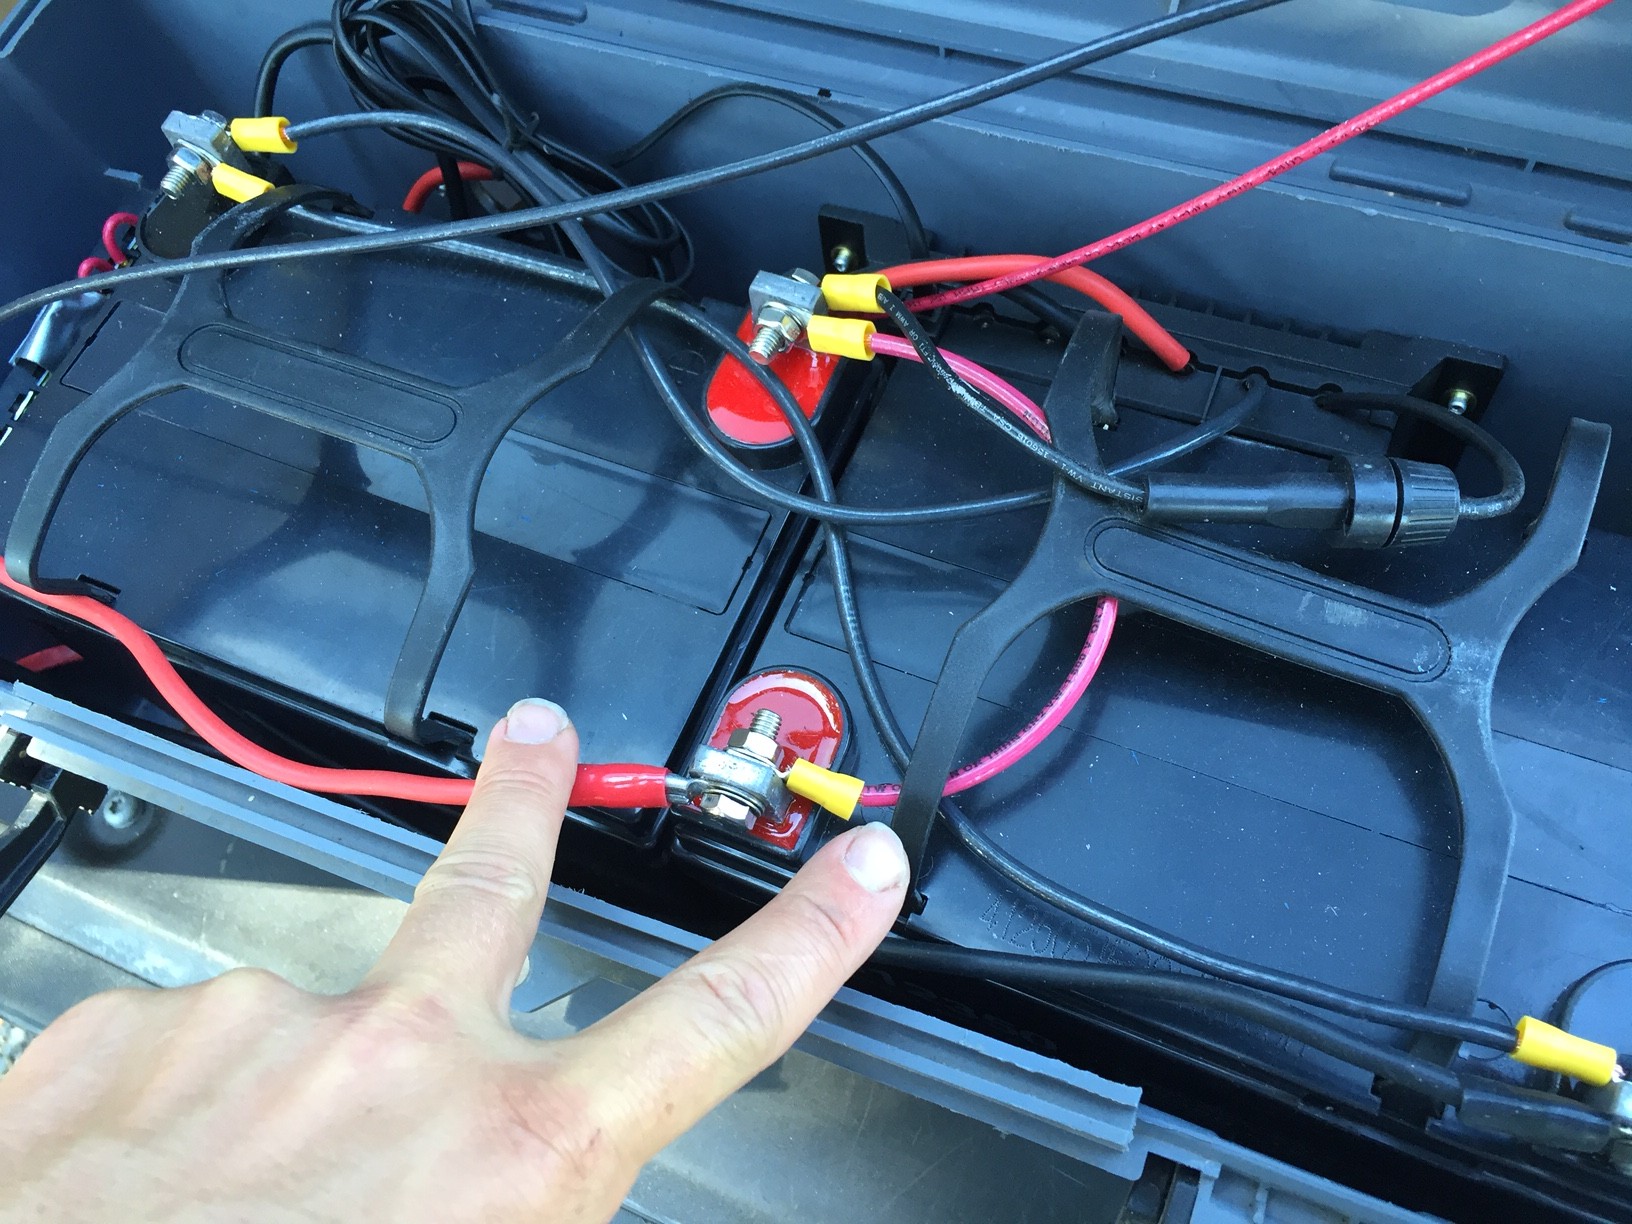
STEP 6: If applicable wire batteries in series.
-
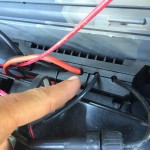
- Wiring Charge Controller
-

- 20A Fuse

-

- 12v Batteries wired in series
-
- Positive & Negative Load Bus

-

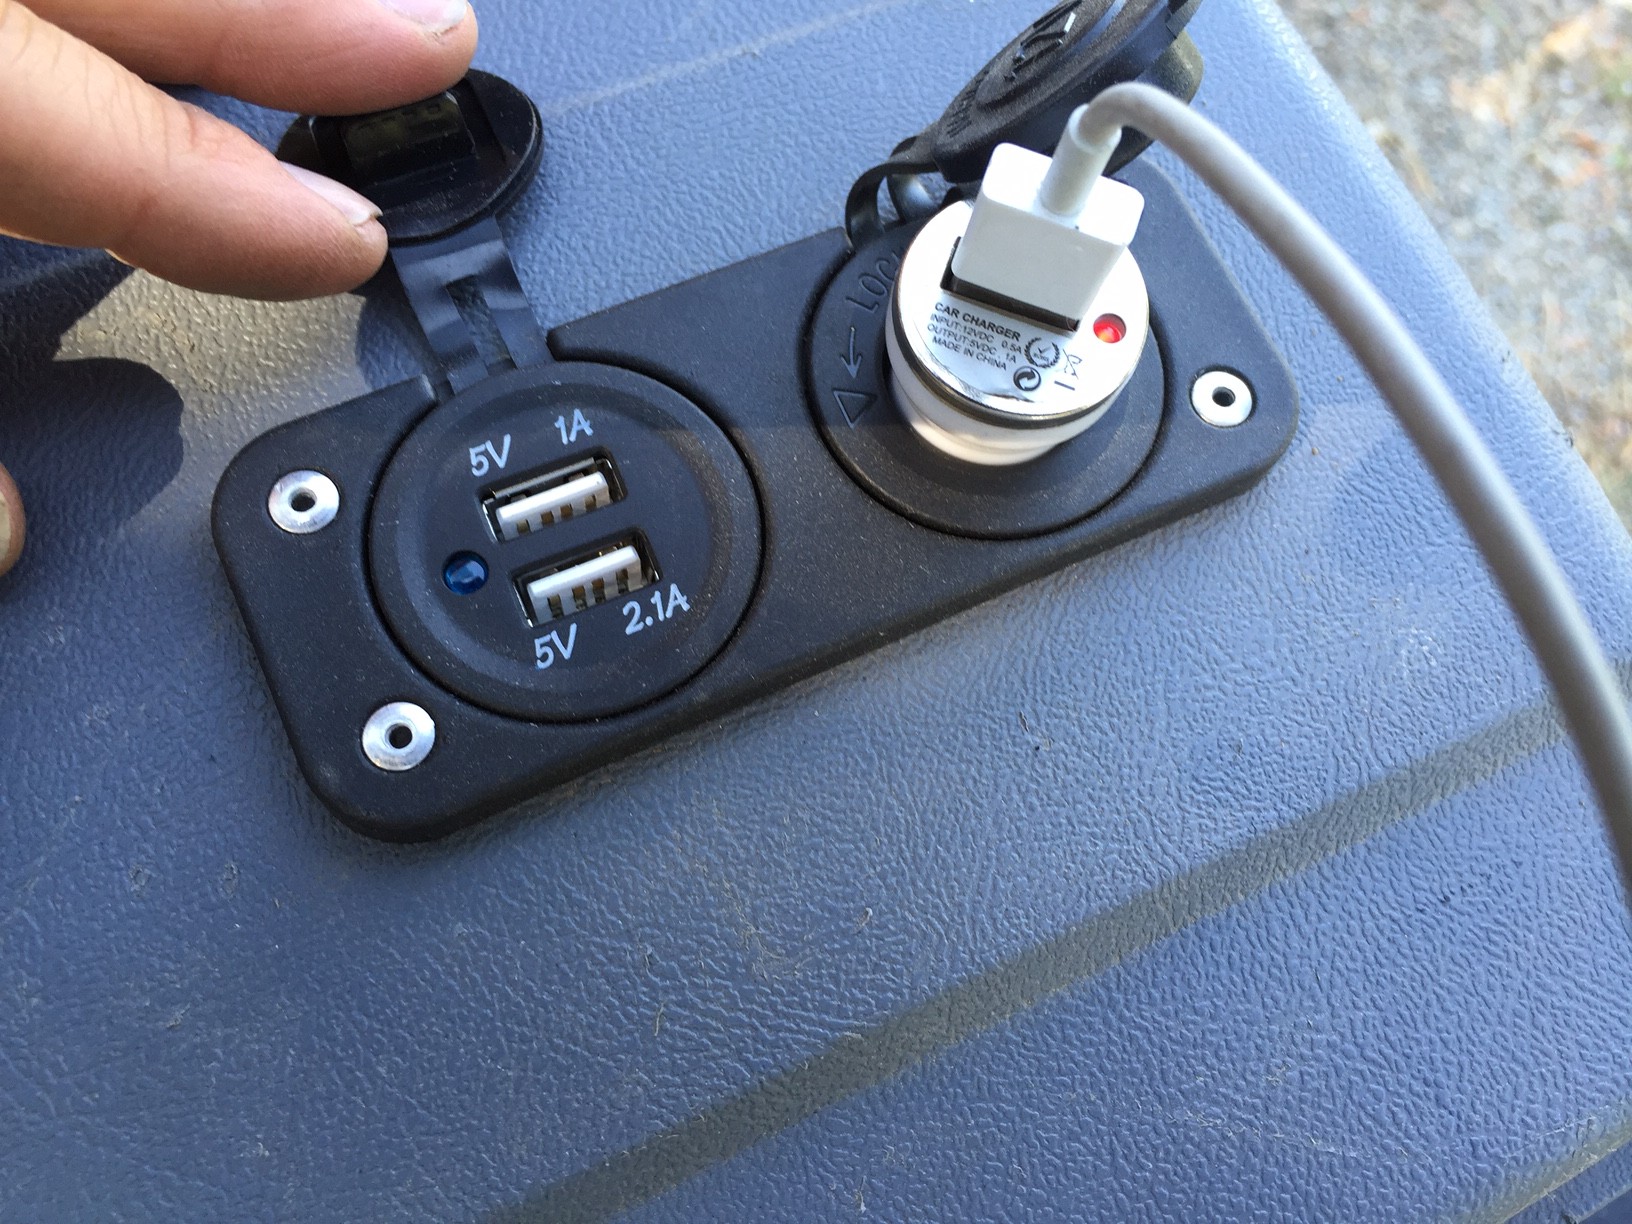
- 12V Socket + USB

-
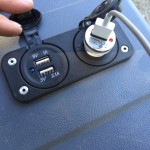
- 12V Socket + USB
-
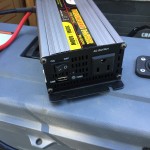
- 300W Puresine Inverter

-
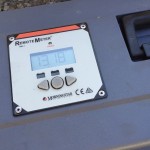
- System Monitor
OTHER OFF-GRID ARTICLES
SHOWER: Off-Grid Pressurized Shower
LIGHTING: Simple LED Hack for RV’s
HEAT: Small Wood Burning Stoves
COOLING: Off-Grid Cooling & Air Conditioning